skip to main |
skip to sidebar
Making a Leather Shopper
Here are the pictures of making process of the leather shopper (or leather tote bag) I have posted few days ago, entirely handmade and hand stitched as usual.
I started with the two main faces, cutting the four leather rectangles and the strap for the blue fillets, then I splitted that strap to 1/4 of its original thickness, glued and folded in half to form the fillet.
Once the fillets are ready, I backstitched the fillet to the first of the leather rectangles using thin nylon thread. This is made just to keep in place the two pieces.
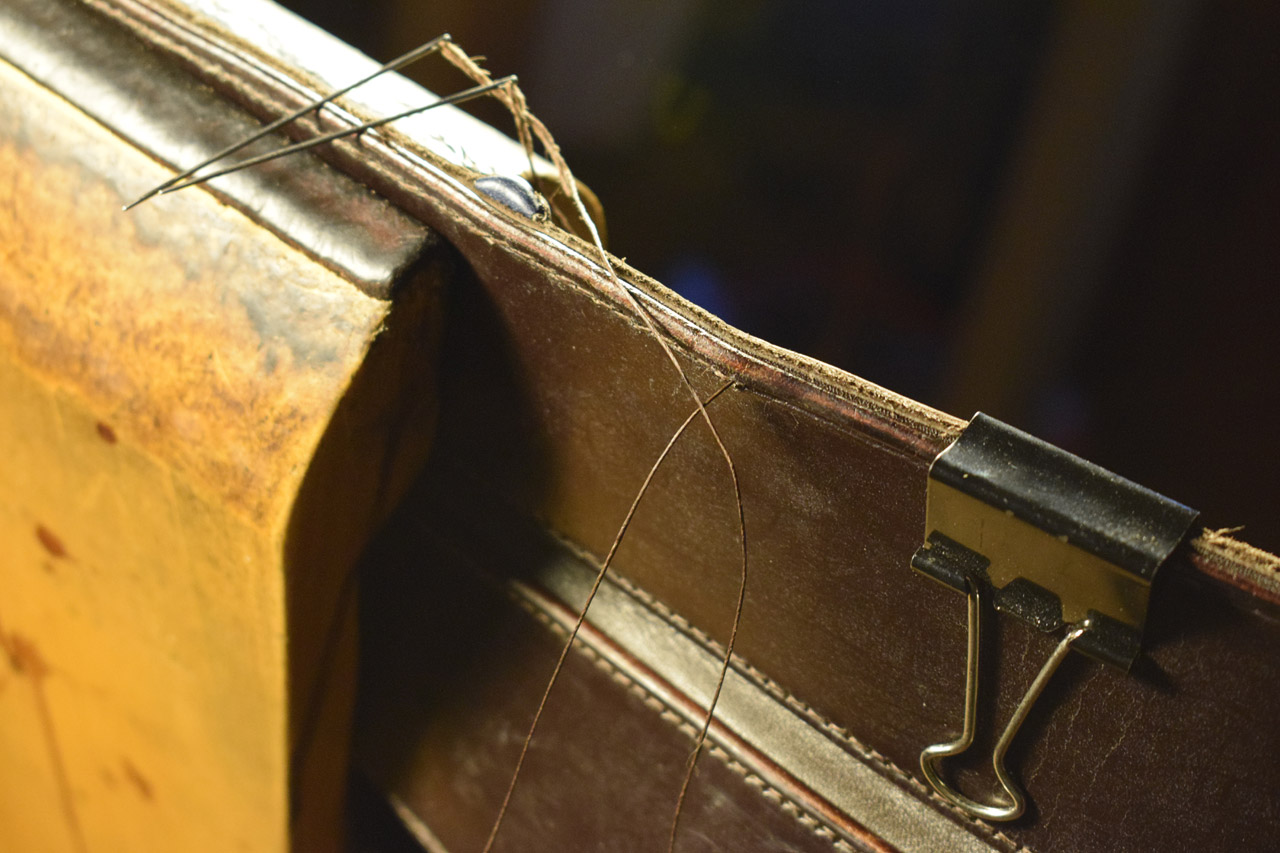
Next step is adding the second leather rectangle with saddle stitch, made with two needles and my usual brown linen thread.
This is how it looks once it's done. Back side:
...and front side:
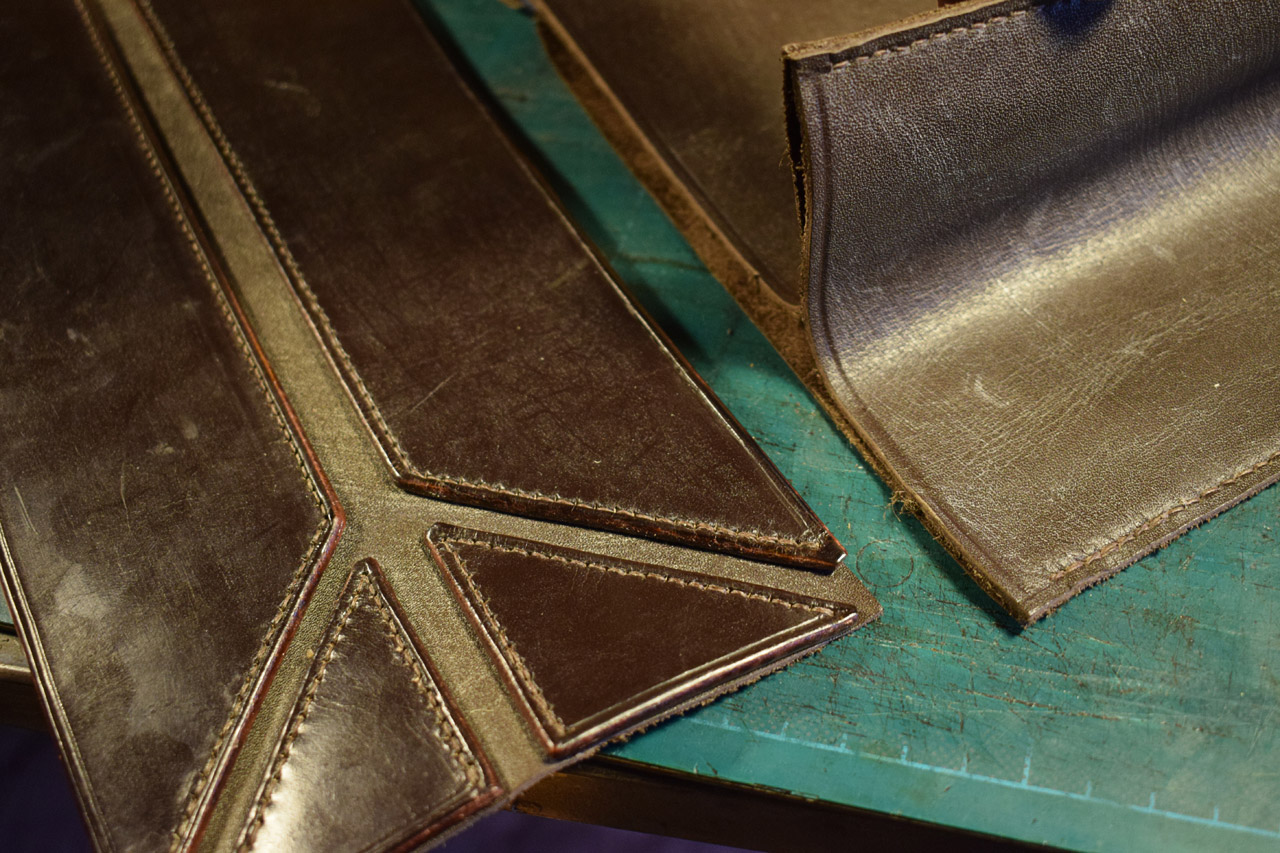
Now it's time for the bottom of the bag. I begin with cutting the veg tanned leather pieces that will reinforce the bottom and permit to collapse the bag when it's empty, without leaving unaesthetical wrinkles on the front and side faces.
Here are the same pieces after edge creasing and finishing.
Next step is cutting the leather bottom, where I will stitch the backing pieces I just finished:
Stitching time. Of course I won't sew along the outer perimeter, as that will be made for joining the sides to the bottom.
Done.
Back to the main faces: I cut the lining (first 5" around the mouth the bag is lined in the same leather I use for the outside) and stitch it to form a nice rim:
...at the end it will look this:
With blue leather I made the tubular handles and the fastening strap:
I have placed two backing pieces of leather on the inside (under the lining) for each handle:
Stitching time again, now with blue synthetic thread:
Ok, handles are sewn to the main faces:
Now it's the turn for the tubular fastening strap and its counterpart with the brass Sam Browne stud:
Here you can see the fastening strap ready to be stitched on the leather lining:
Once all the stitchings are done, I proceed with glueing the lining and cutting the two missing sides:
Of course, I have made stitched edges also on these last two parts:
The parts are ready, I begin joining them together, starting with the four bag walls:
This is the result:
This is a detail of how the mouth of the bag looks like:
Last step is stitching the walls to the reinforced bottom; front side view:
And a view from the back:
The bag is done. I applied some leather wax before shooting the final pics you can see in this post.


No comments:
Post a Comment